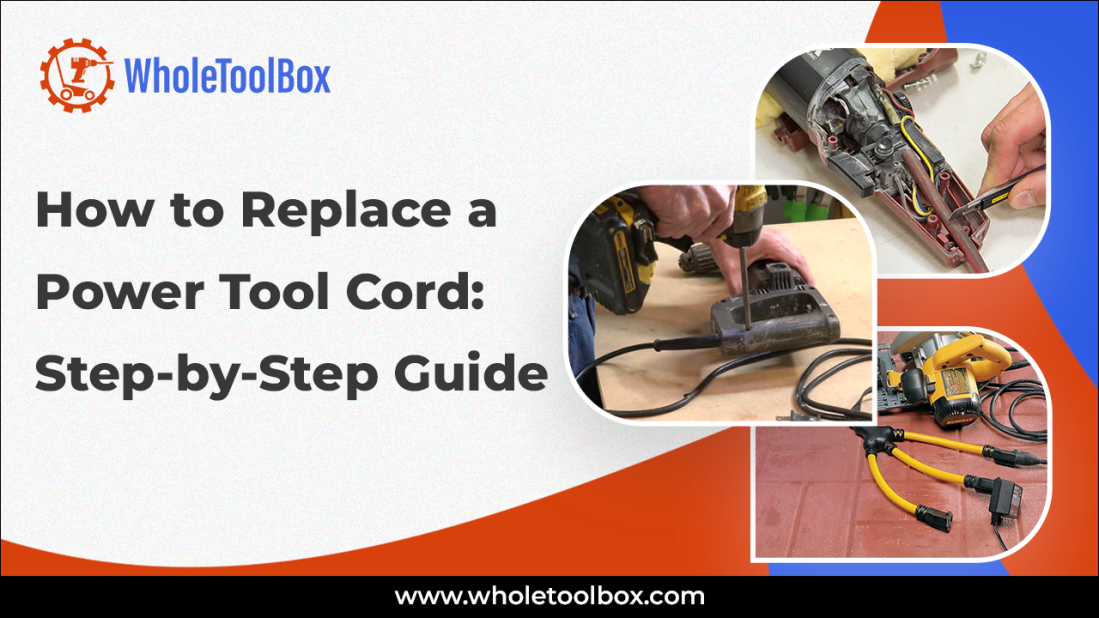
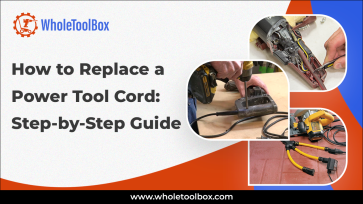
Power tools are essential for various DIY projects and professional tasks. Whether you're using a drill with cord, saw, or another tool, a damaged power tool cord can disrupt your workflow and pose a safety hazard. If you notice fraying, exposed wires, or a faulty connection, it’s essential to replace the cord as soon as possible. Replacing a power tool replacement cord might seem daunting at first, but it’s a manageable task with the right tools and steps. In this comprehensive guide, we’ll walk you through the process of replacing a power tool cable and share essential tips to maintain the cord’s lifespan.
 Snapper 1726535ASM Snow Blower Left Hand Auger Assembly Weldment Special Price $102.26 Regular Price $106.95
 Homelite 207750003DG9 4 Generation Battery 40V 6.0Ah Ryobi Special Price $270.13 Regular Price $286.95
 Honda 17510-Z03-000ZC Fuel Tank Power Red R280 Special Price $268.46 Regular Price $284.95
- Snapper 1726535ASM Snow Blower Left Hand Auger Assembly WeldmentSpecial Price $102.26 Regular Price $106.95
- Homelite 207750003DG9 4 Generation Battery 40V 6.0Ah RyobiSpecial Price $270.13 Regular Price $286.95
- Honda 17510-Z03-000ZC Fuel Tank Power Red R280Special Price $268.46 Regular Price $284.95
Signs That Your Power Tool Cord Needs Replacement
The replacement process requires understanding the correct time to replace a power tool cord. Observing these signals leads to accident prevention and efficient tool operation.
Visible Wear and Tear: Visible damage serves as the clearest indicator that your power tool replacement cord requires replacement. The outer insulation of the cord may show signs of fraying or cuts or develop cracks. Exposed wires present a major electrical danger that requires immediate attention.
Frequent Electrical Failures: The cord itself becomes the potential source of intermittent tool stoppages and electrical shorting when these problems occur. A loose connection or internal wire damage within the cable will produce these issues.
Overheating: The tool's operation can cause a damaged cord to heat excessively. The improper electrical conduction of wires within the cord is the main cause of this problem. Tool performance suffers from overheating while the condition also creates a fire risk.
Visible Exposed Wiring: The visibility of inner wires through the power tool cord indicates the cord has sustained damage. The danger of electrical shocks and short circuits arises from exposed wiring.
Failure to Charge (for Cordless Tools): A damaged cord that powers your power tool through detachable charging can stop the tool from charging correctly even though it does not affect cord tools specifically. The main power cord requires inspection when replacing the charging cord fails to solve the problem.
WholeToolBox offers a wide selection of power tool partsfrom bearings, belts, blades, pressure switches, and more from top brands like DeWalt, Makita, and Milwaukee.
Essential Tools for Replacing a Power Tool Cord
A proper replacement of power tool cables needs specific tools to perform the work correctly. Here’s what you’ll need:
Replacement Power Tool Cable: Select a power tool replacement cord which corresponds to your required tool specifications. The replacement cable needs to support the tool's voltage and amperage specifications.
Wire Cutters: Cut the damaged cord with wire cutters before using the tool to trim the new cable to the required length.
Wire Strippers: The correct connection requires exposing copper wire ends through wire stripping before installation. Wire strippers enable safe wire stripping operations that prevent damage to the wires.
Screwdrivers: Screwdrivers are necessary to remove the casing or components which secure the power tool cord.
Crimp Connectors: The new cord requires crimp connectors to connect with the internal wiring. The connectors create a powerful electrical bond which maintains its connection stability throughout time.
Electrical Tape: Electrical tape should be used to wrap wires and prevent electrical shorts.
Soldering Iron (optional): You can choose soldering wires as your permanent connection option instead of using crimp connectors for power tools.
Safety Precautions Before Replacing a Power Tool Cord
Safety must be your first priority before starting any work. Working with electricity during drill cord replacement or any other cord tool repair requires proper handling to avoid dangerous situations. Follow these essential safety precautions:
Unplug the Tool: Start the replacement process only after disconnecting the power tool from its power source. The replacement of power tool cables must never occur when the tool remains plugged into the power source.
Use Insulated Tools: The use of insulated tools becomes essential when working with electricity because they protect users from receiving electrical shocks. The replacement process requires insulated screwdrivers together with wire strippers as essential tools.
Work in a Dry Area: Work in a dry environment that does not contain water or moisture because electrical shock can occur.
Inspect for Further Damage: Inspect the power tool for damage to its switch, motor and casing in addition to the cable. You should repair all problems before installing a new cord.
Wear Protective Gear: Safety gloves and protective goggles provide essential protection against flying objects and accidental sparks and cuts although they are not mandatory in all situations.
Check out our articlePower Tool Maintenance: The Ultimate Guide for more detailed safety tips and proper maintenance practices.
How to Replace a Power Tool Cord?
Let’s follow these steps to replace a power tool replacement cord after you’ve prepared yourself.
Step 1: Remove the Old Power Tool Cord
Disassemble the Tool: Begin by removing the power tool casing through screw disassembly located at the handle and motor housing areas.
Cut the Damaged Cord: Cut the old damaged cord using wire cutters until you reach the tool's internal connection point.
Remove the Cord From the Tool: Pull the old cord through the tool’s casing until it disconnects from the internal wiring.
Step 2: Prepare the New Cord
Cut the Replacement Cord to Length:
Check the length of the original cord to cut the new cord to match it precisely. Use your wire cutters to make the necessary cuts on the new cord.
Strip the Ends:
You should use your wire strippers to strip ½ inch of insulation from each wire inside the cord until the copper conductors become visible.
Step 3: Connect the New Cord
Attach the Wires to the Tool: Place the exposed wires into the terminal points located inside the tool. The majority of tools feature two terminals which serve as the live wire terminal and the neutral wire terminal. The ground wire must be attached to the metal tool casing.
Secure the Connection: Secure the wires using crimp connectors or a soldering iron to achieve proper connection. When using crimp connectors you must apply sufficient pressure to the wires to achieve proper connection. A strong solid bond must be achieved when using a soldering iron.
Step 4: Reassemble the Tool
Reattach the Casing: After wiring completion you should carefully put back the power tool casing while making sure the new cord stays properly attached and correctly positioned.
Tighten Screws: Proper screw tightening will stop the tool from breaking apart when in use.
Testing the Power Tool Cord Replacement
The next step involves testing the new power tool replacement cord after its installation.
Plug in the Tool: Check that the tool is completely assembled before connecting the cord to an operational power outlet.
Test the Functionality: Verify that the power tool functions correctly after turning it on. Check for abnormal noises while the tool runs and verify it moves without issues. The tool replacement proves successful when it operates correctly without overheating or short-circuiting.
Check for Safety: Check for electrical arcing and smoking as well as heat buildup. Any unusual tool behavior requires users to shut it down immediately before checking the connections.
Also, check out our articleHow to Choose the Right Power Tools for Home Improvement for more information on selecting the right tools for home improvement and maintenance.
Maintenance Tips to Extend Power Tool Cord Lifespan
Proper maintenance of power cord tools helps both avoid upcoming problems and lengthens the cord's operational life. These guidelines will help you maintain the quality of your tool's cord:
Proper Storage: The cord should never receive tight wrapping around the tool nor should it remain in twisted positions. A neat coil arrangement of the cord without tight bends will protect the internal wires from damage.
Regular Inspections: Regularly inspect your drill cord along with other cords to detect any visible signs of wear. Detecting early warning signs helps avoid worsening conditions which occur in the future.
Avoid Pulling on the Cord: Pulling the tool through its handle instead of the cord ensures that connections remain safe from damage.
Keep the Cord Dry: Dry storage conditions should be used for the cord because moisture can corrode wires leading to short circuits.
Learning to replace power tool replacement cables stands as a required skill for maintaining tool performance while ensuring safety during use. The procedure to replace a drill with cord or any other power tool becomes simple when you follow proper steps while taking safety measures. Regular maintenance of your cord tool combined with proper tool upkeep will both increase its lifespan and create a safe working environment.
FAQs
How to connect a replacement power cord?
To connect a replacement power cord, cut off the old plug, strip the outer jacket and wire insulation, tie an underwriter's knot, connect the wires to the new plug, and secure the plug
Can you replace a cut cord?
Yes, you can often replace a cut cord, but the best approach depends on the appliance and the location of the cut.


Validate your login